Introducing Spot Gloss: A Radiant, Reflective Finish

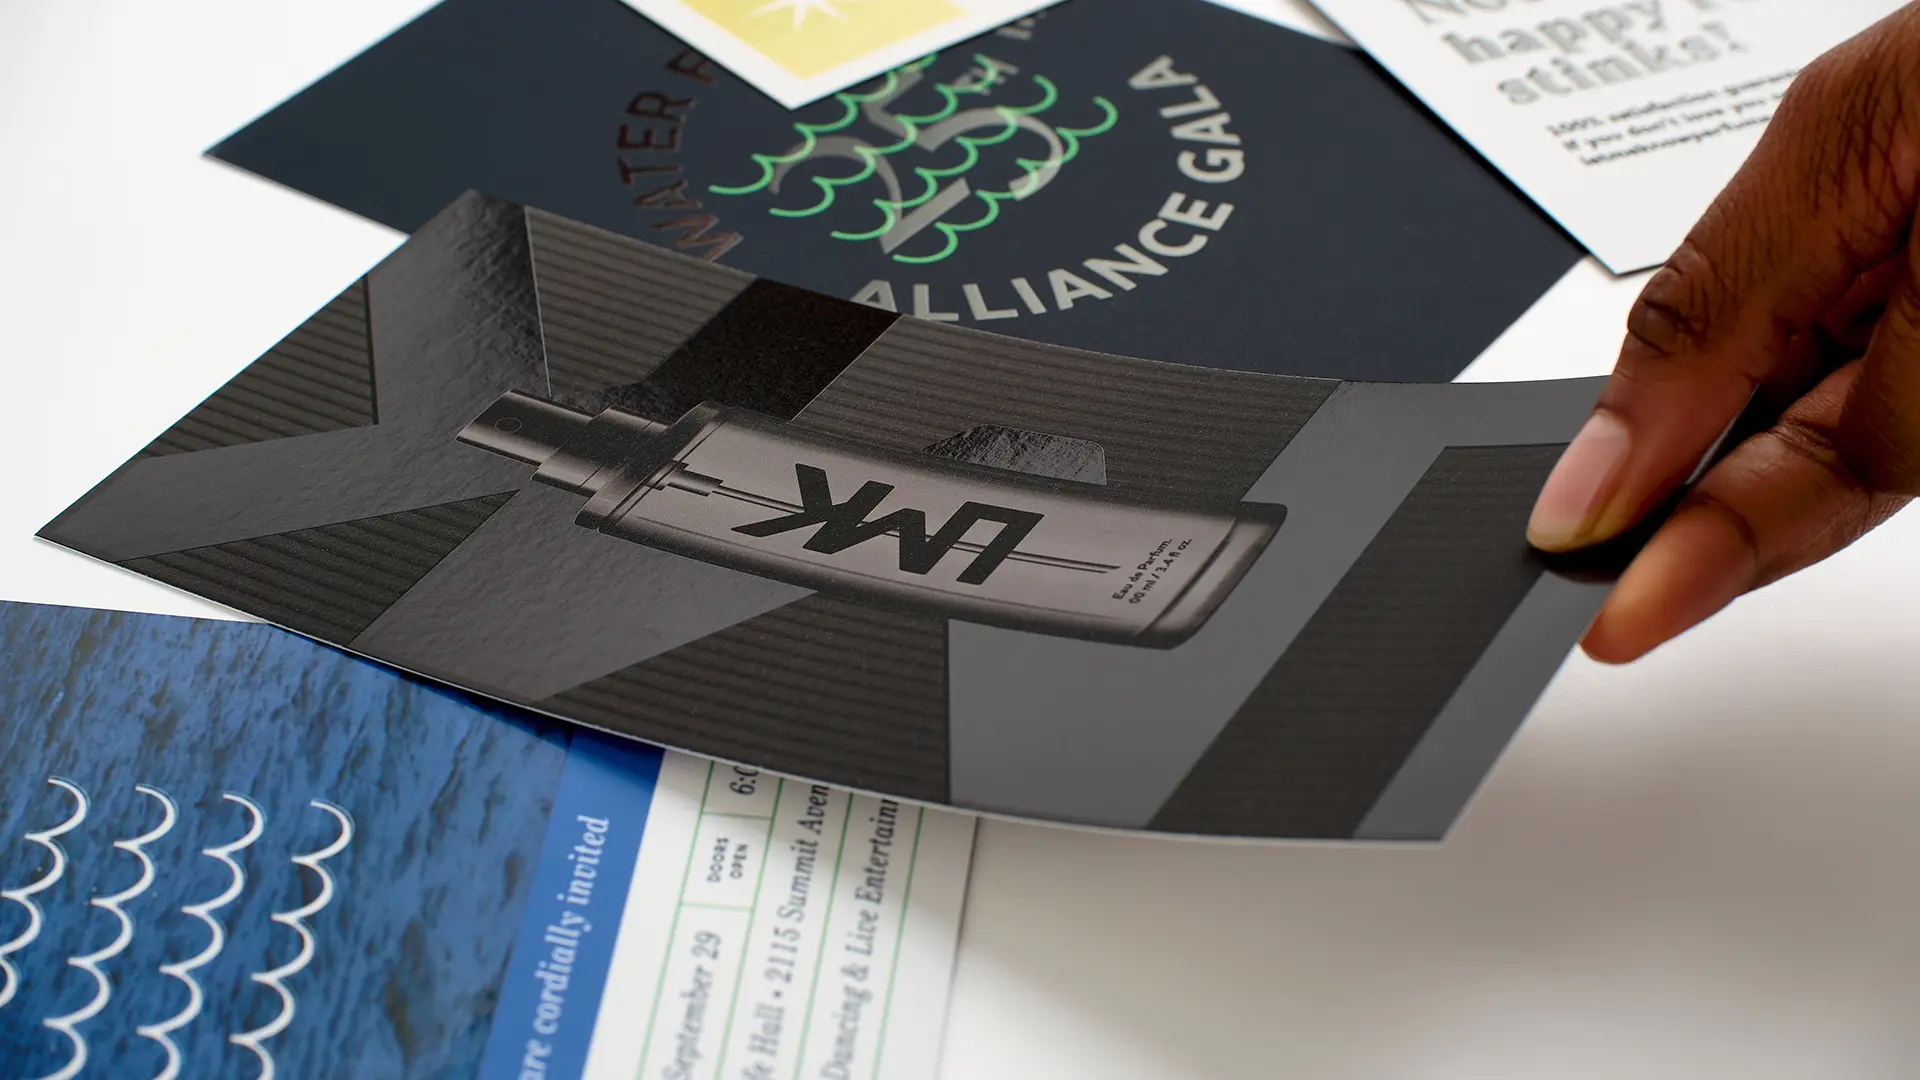
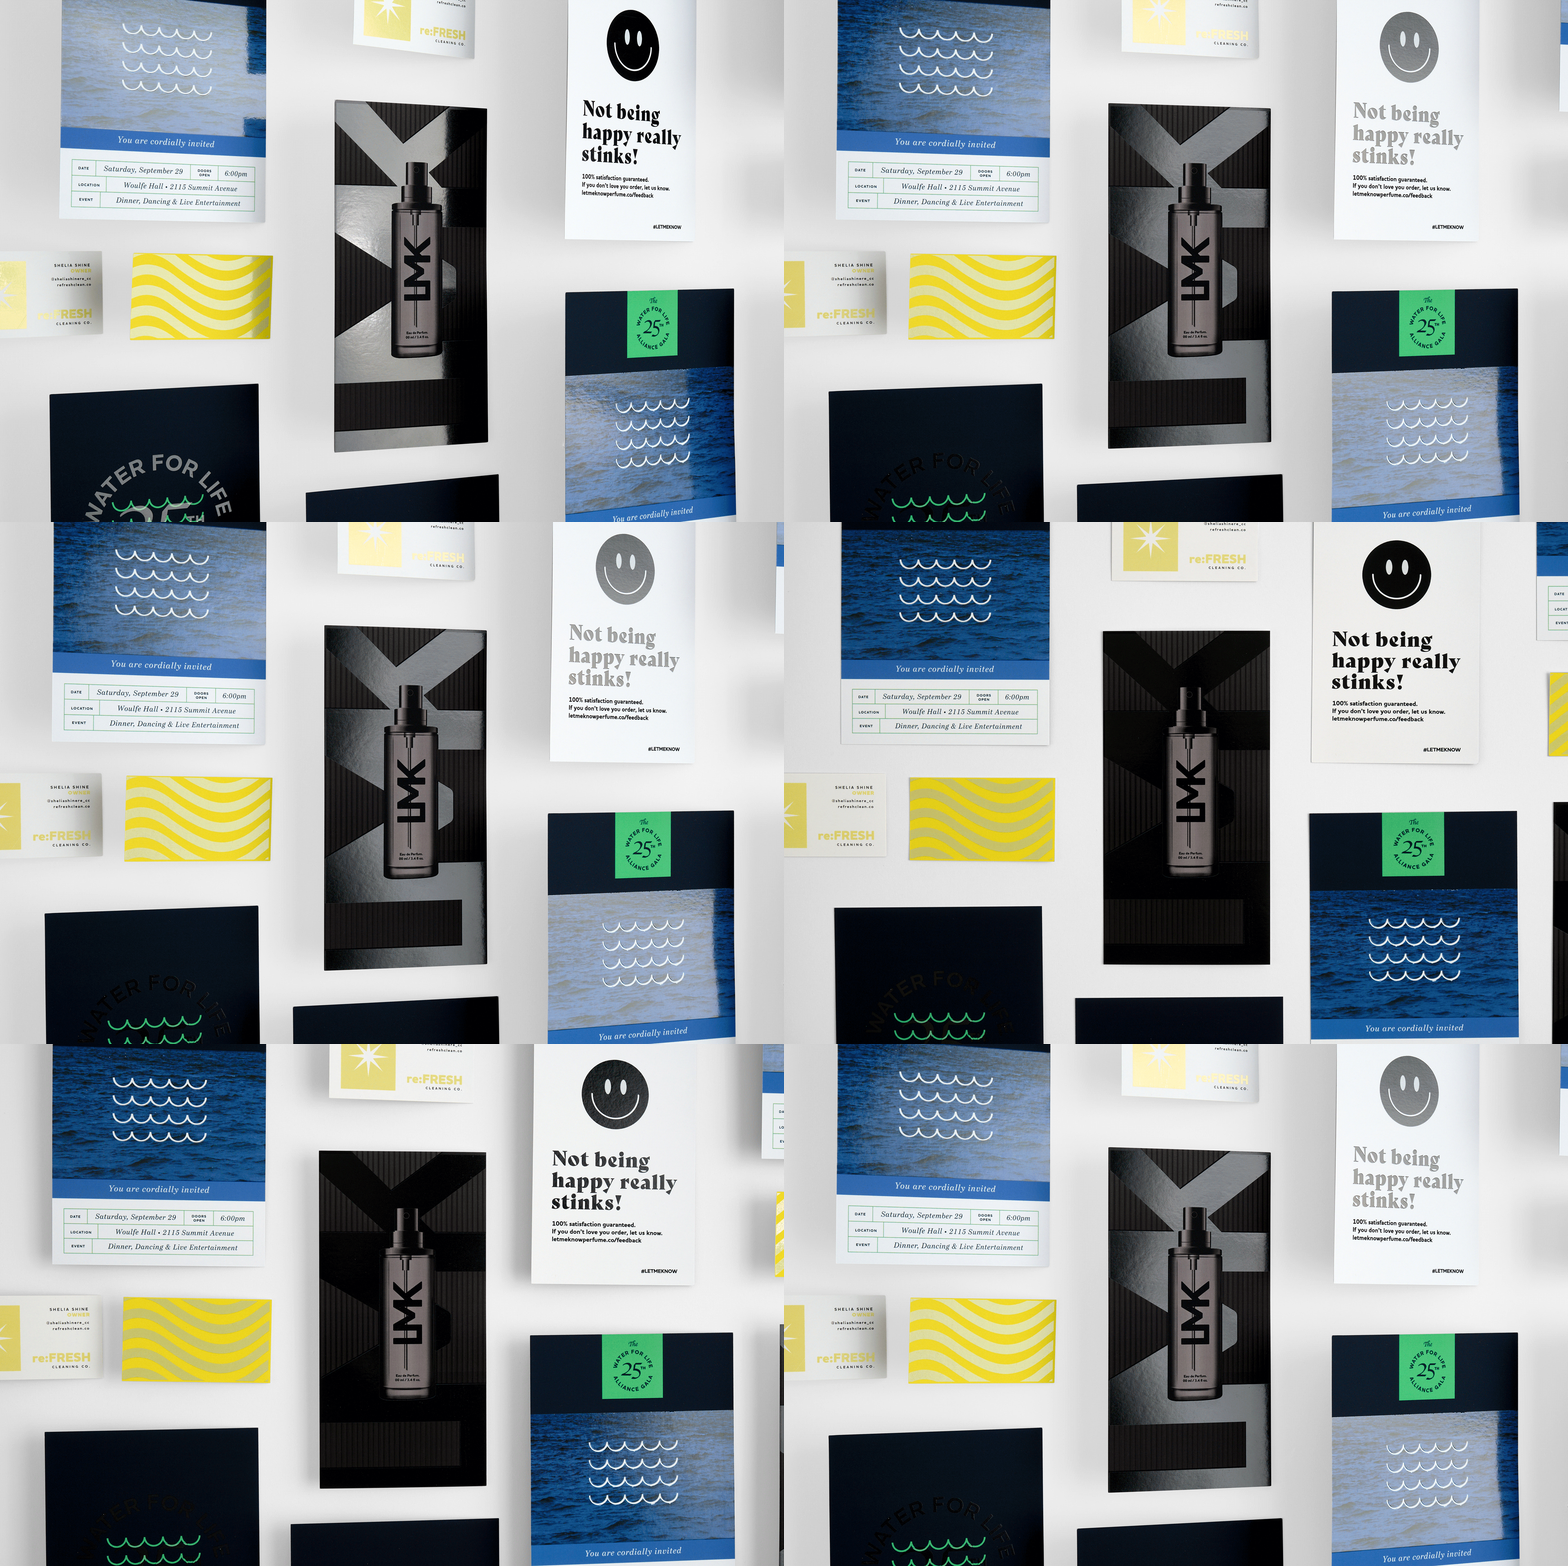
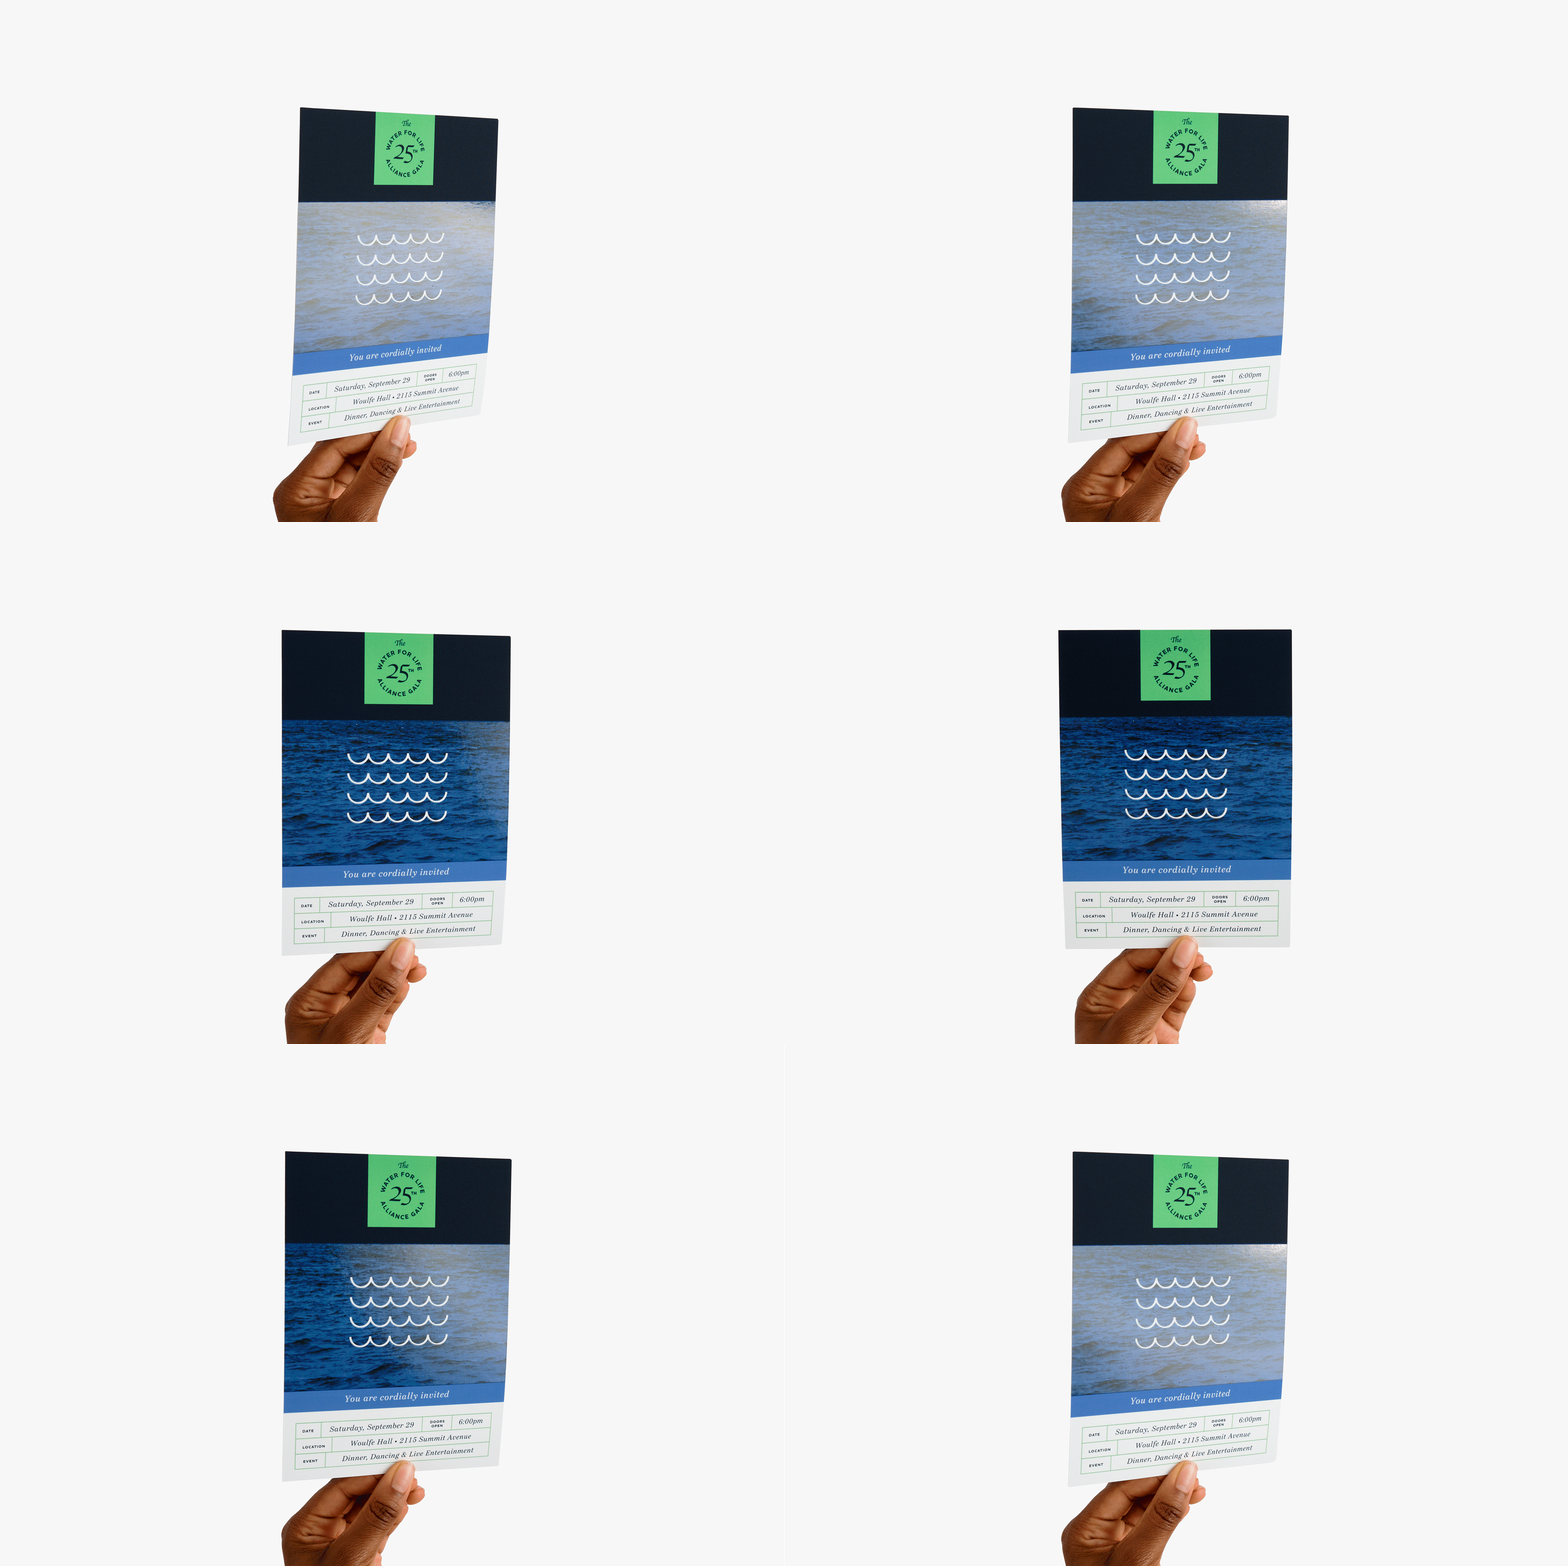
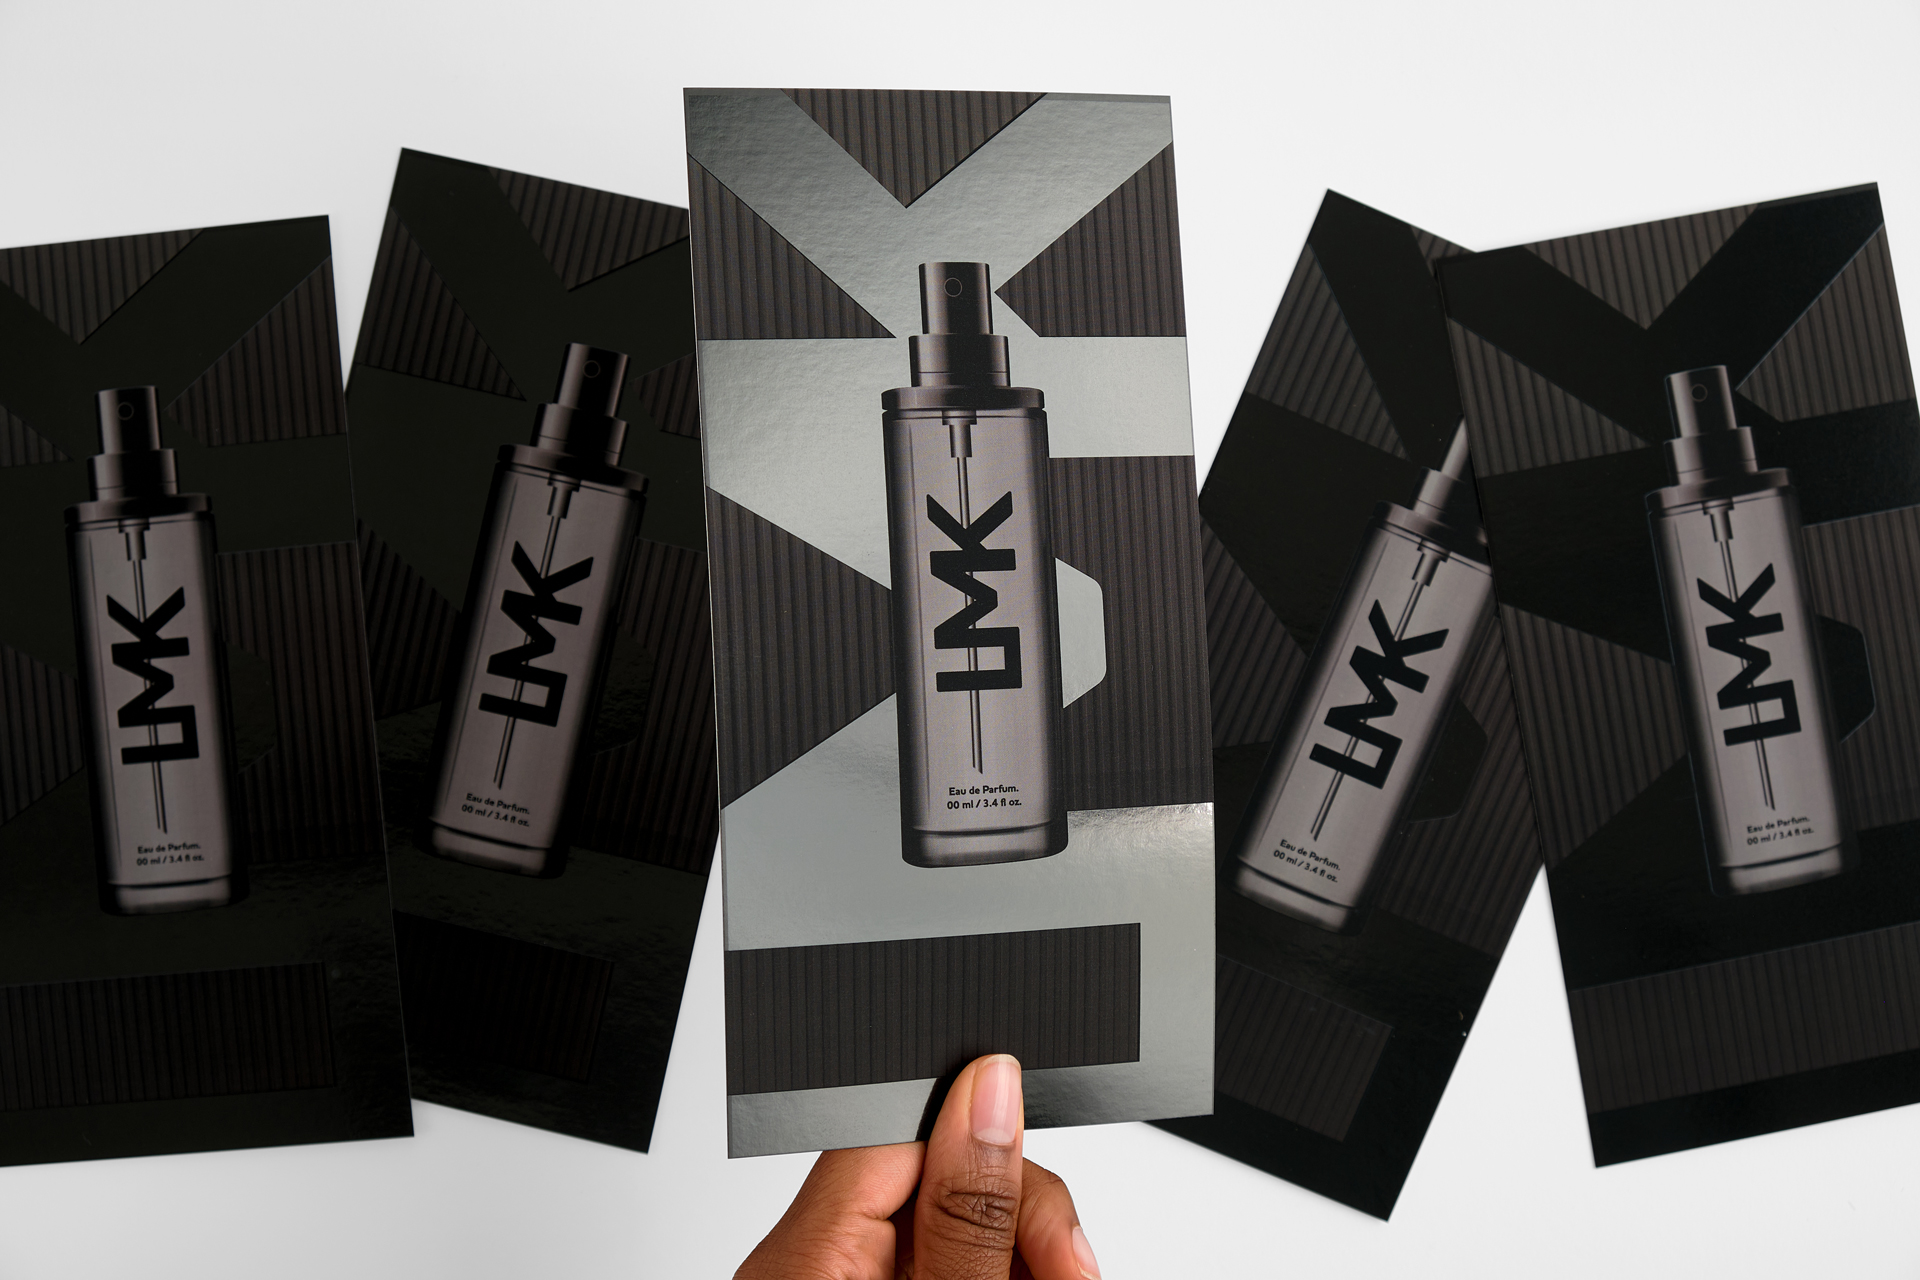
To make your print piece truly special, you need a specialty finish. And our newest addition is spot on. Introducing spot gloss, an embellishment that truly brings the wow factor. Similar to clear foil, spot gloss adds an unexpected shine to your print marketing and customized stationery. The result? An ultra-polished, vibrant look.

Spotlight on Spot Gloss
Also called spot varnish, our spot gloss is a clear material that shows the color that’s printed underneath it, adding an undeniable sheen to any coated paper stock. Available on all of our foil products, it creates an intriguing contrast between the stock and finish. It’s a look that says high-end and super sophisticated and takes your print to a truly impressive level.
As your online printer, we treat this clear finish like foil, so the same rules apply when you’re printing with it. Rules like it’s automatically printed with our velvety smooth Soft Touch laminate and it’s not compatible with variable data printing or digital laser cutting.
Whether you use it as an accent or go for a full flood in the negative space of your design, this refined finish creates a remarkable difference in lighting with reflectivity. Plus, it’s available on one or two sides of your print piece – but only on the coated side(s) of your stock.
Here’s how to add it to your order on the product page:
- In the Foil Color dropdown, select Clear Gloss.
- In the Printing on the Front/Back dropdowns, select either of these options:
- Full Color + Clear Gloss
- Black Color + Clear Gloss
Hint:
What’s the deal with Soft Touch laminate? See why people are raving: Soft Touch Laminate: A Premium Finish with a Velvet Feel

All in the (Foil) Family
X marks the spot with clear gloss and that spot is on our foil products. Now part of our wide array of online printing services, spot gloss is a premium finish you’ll want on essentials (think business cards) and extras (hello branded bookmarks).
You’ll find it on all of these:
Foil Bookmarks
Foil Brochures
Foil Business Cards
Foil Cards
Foil Greeting Cards
Foil Invitations
Foil Postcards
Foil Wedding Invitations
Hint:
Wondering what to do with clear gloss on these products? Keep reading… our design ideas and tips are below!

Setting Up Your File
If you’ve never designed with foil or other specialty features, setting up your print-ready file for online printing can seem daunting. But fear not, The Bernard Group is like your very own local online printing shop, with step-by-step instructions right at your fingertips.
As we mentioned above, we treat spot gloss the same as foil, so the setup process is the same for both. You can use the PDF instructions and images found here or follow the steps below to indicate where you’d like clear gloss to go in your design:
- Set up your file: Select the PDF, IDML or EPS template on the product page. Add each clear gloss element to the Foil layer. For custom sizes, set up the document to the finished size (including bleed) and add a new layer named “Foil”. The layer can be denoted in any color, as long as the clear gloss is its own layer.
- Design your file: All clear gloss elements on the Foil layers should be in the vector format with the clear gloss or foil spot color to ensure a smooth finish.
- Export your file: Export the file as a layered PDF. For InDesign, select Export As PDF. For Illustrator, select Save As PDF.
- Check your PDF: Open the PDF in Acrobat to check for layers. In Acrobat, expand the Layers icon on the left and find two layers called Your Art Here and Foil.
One other thing to remember: Clear gloss design elements should be 100% opaque, with no drop shadows in your print-ready file.

Design Ideas & Tips
So you’re ready to design spot gloss into your marketing collateral and more… but design what exactly? Polish off any piece with these innovative ideas for spot varnish printing:
- Consider clear gloss separate from your artwork and make an entirely independent pattern over your printed design. You’ll be stunned by the different visuals and contrasting effect!
- Do a reverse design where one side features elements accented with clear gloss, while the other side showcases a flood of clear gloss with only accents of the matte paper showing through.
- Use spot gloss to accent a logo or design element.
- Emphasize elements in photography by hitting them with spot gloss. This makes them subtly feel more “real” and vibrant with an extra sheen, creating a textural element and reflective quality that enhances your photos. (For example: Spot varnish bicycle spokes to make the metal shine or add spot gloss to a subject’s eyes to make them glow.)
And take these tips into consideration for a design that more than hits the spot:
- We don’t recommend using spot gloss over high-contrast gradients (e.g. black to white).
- Subtle gradients (like a design featuring water or sky) yield more reliable results on your print.
- Avoid thin lines and small fonts.